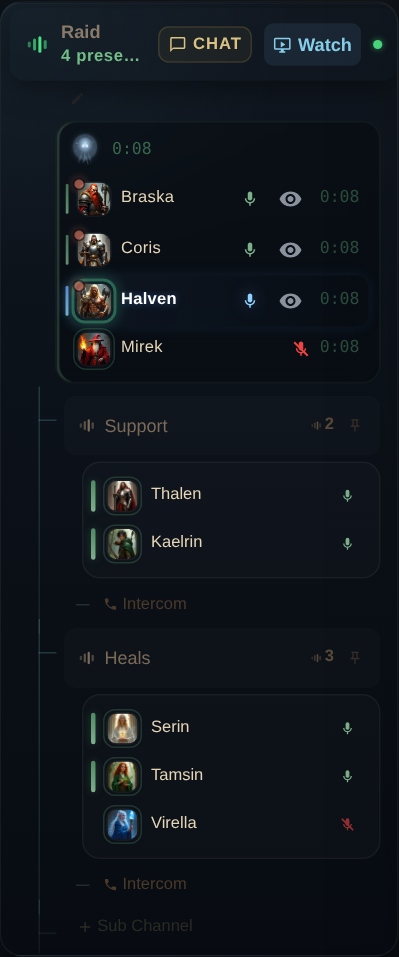
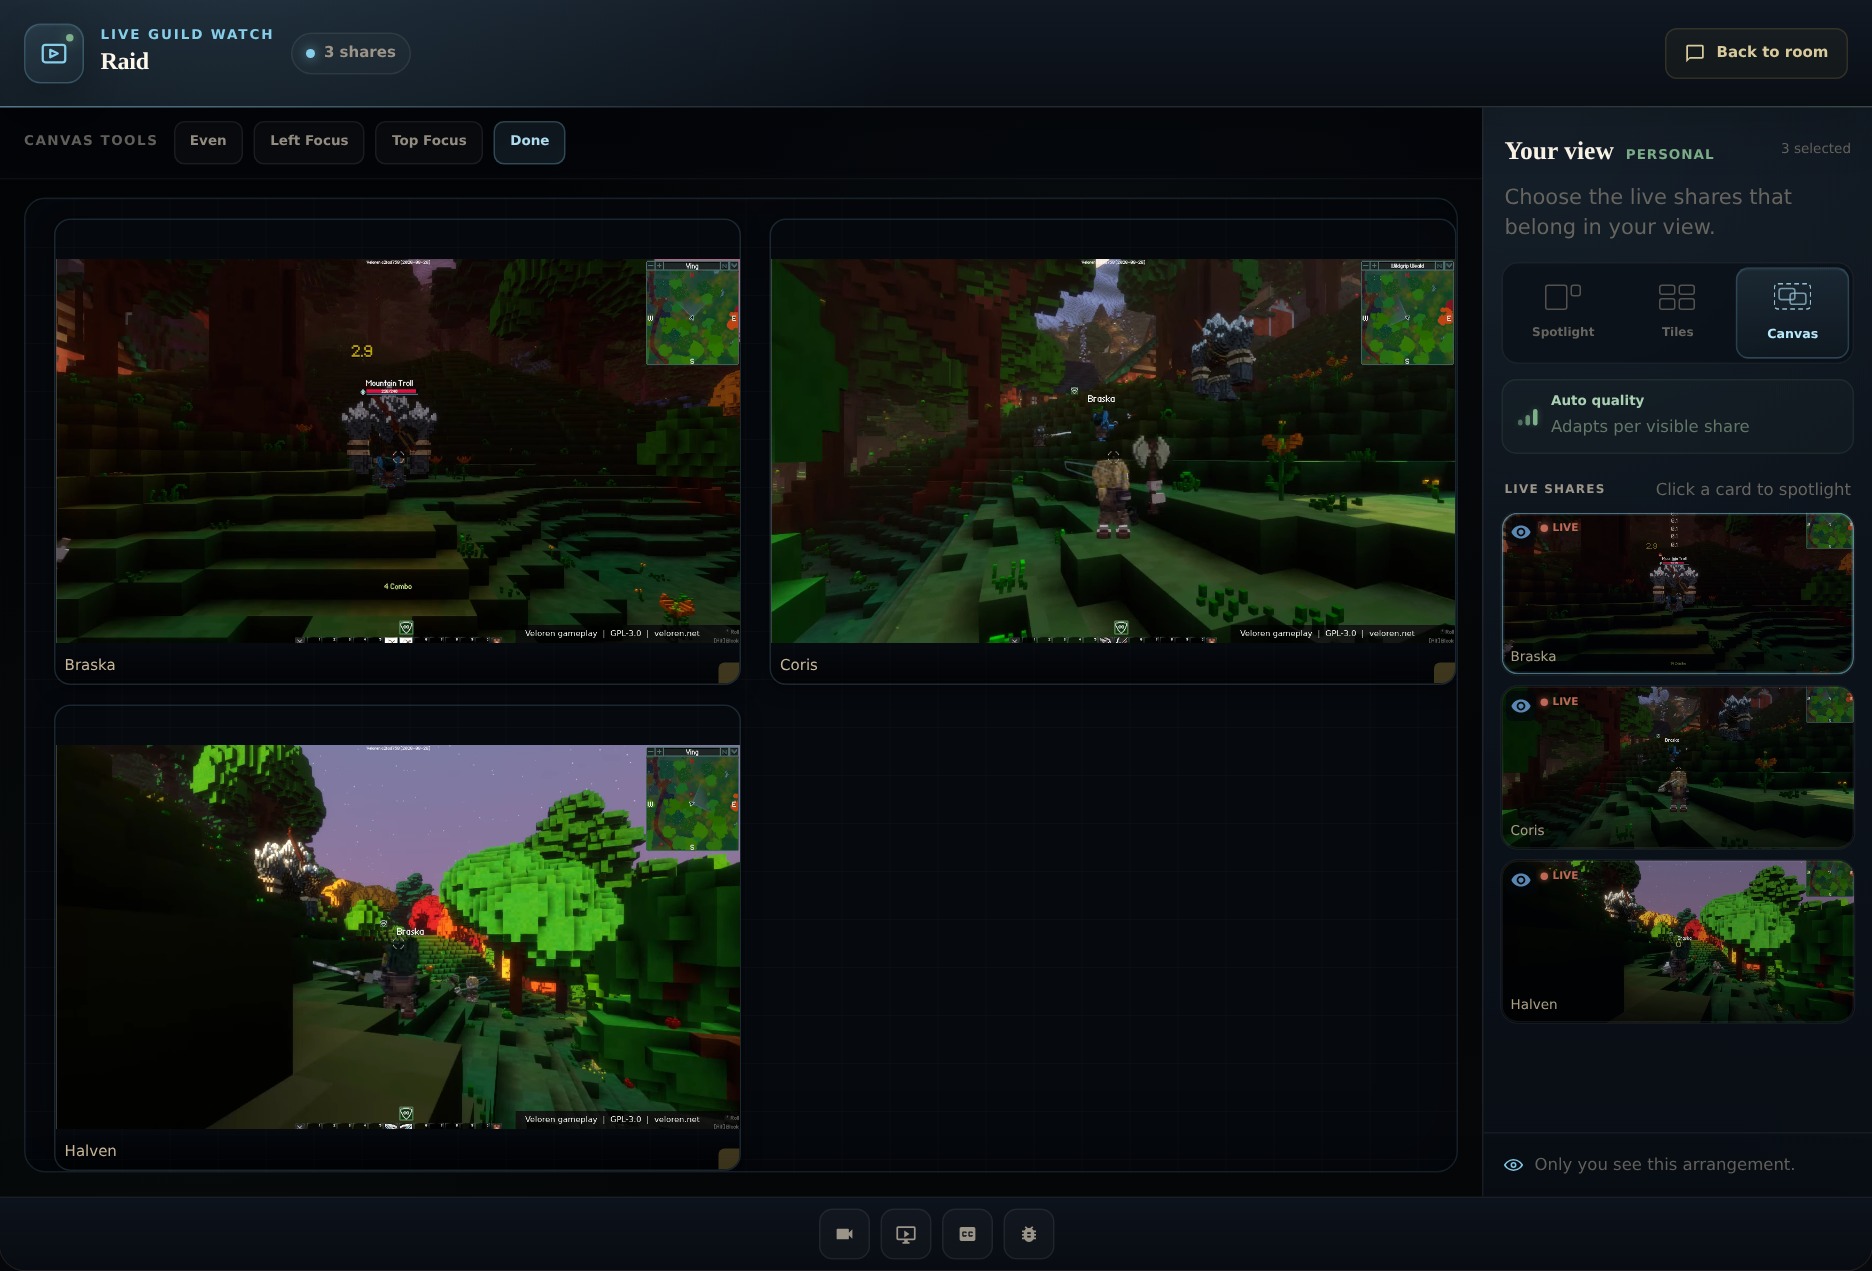
Start with your personal settings.
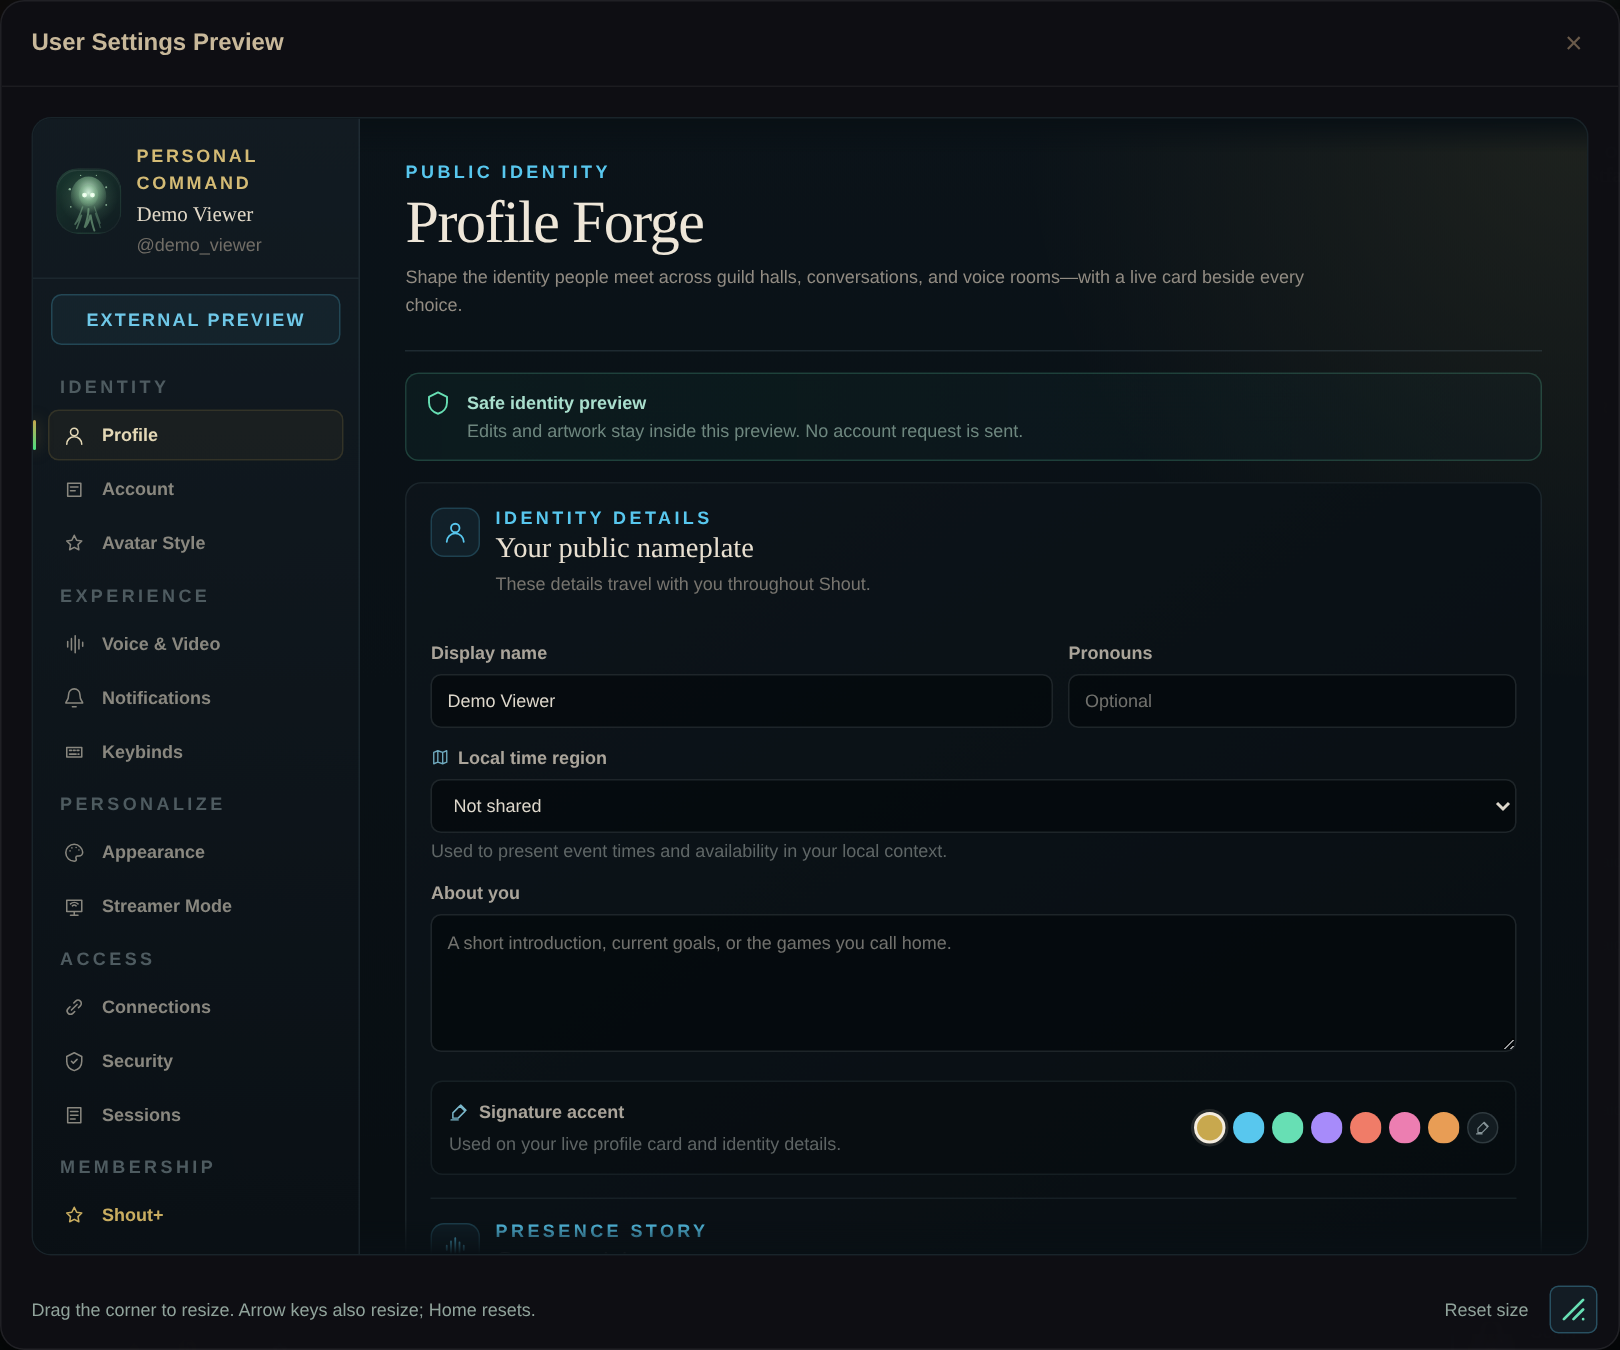
Choose Settings in the profile dock at the lower left of Shout. The sidebar separates identity, voice, notifications, appearance, and account access.
These are your personal controls. Guild-wide roles and room permissions belong in the guild’s settings.
Choose the gear you want to use.
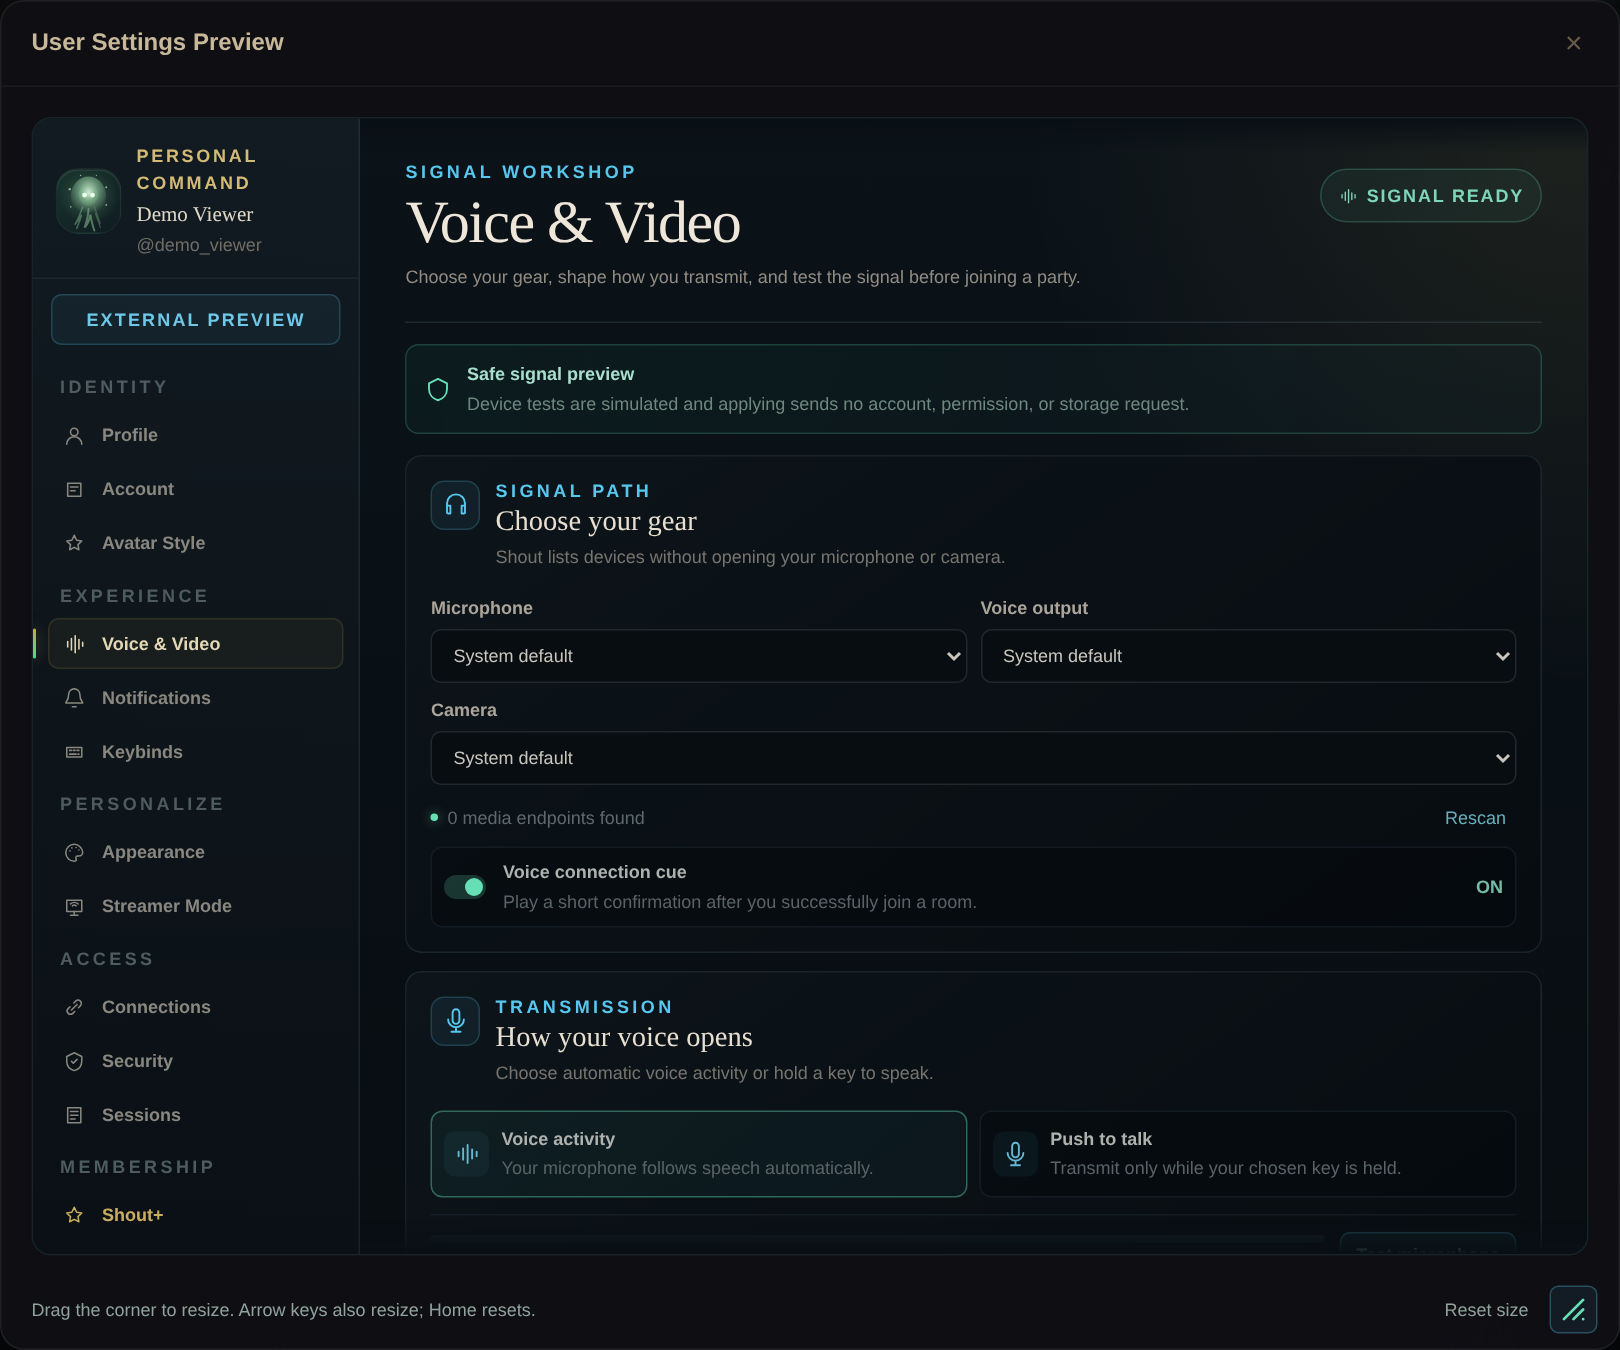
Open Voice & Video. Under Choose your gear, select your Microphone, Voice output, and Camera.
- System default follows the device chosen by your operating system.
- Select a particular device when you want Shout to use that headset, microphone, or camera.
- After plugging in new gear, use Rescan. Browser and system permissions can affect which devices are available.
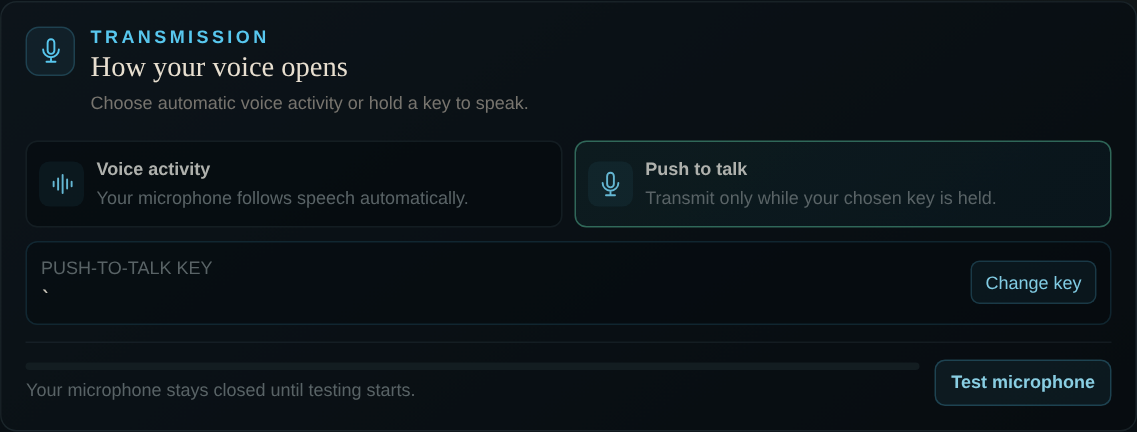
Decide when your microphone opens.
Voice activity
Your microphone follows speech while you are connected and unmuted.
Push to talk
Transmit in your current room while your chosen key is held. Release it to stop.
For push to talk, choose Change key, press the key you want, and select Apply settings. Keep it distinct from any /shout shortcuts you configure.
Studio noise suppression is in the same Voice & Video page. Try it with your own microphone and room, then apply the setting that sounds best.
Check your signal before joining.
- Use headphones and keep playback volume comfortable.
- Choose Test microphone. Allow microphone access when your browser or system asks, then speak at your normal level.
- Check the input response. Current clients also provide local test playback, so you can hear the selected microphone through your voice output. Choose Stop test when finished.
- For video, choose Start camera preview only when you are ready. Check the frame, then choose Close preview.
- Choose Apply settings for any pending voice changes before closing the settings window.
Let the useful alerts through.
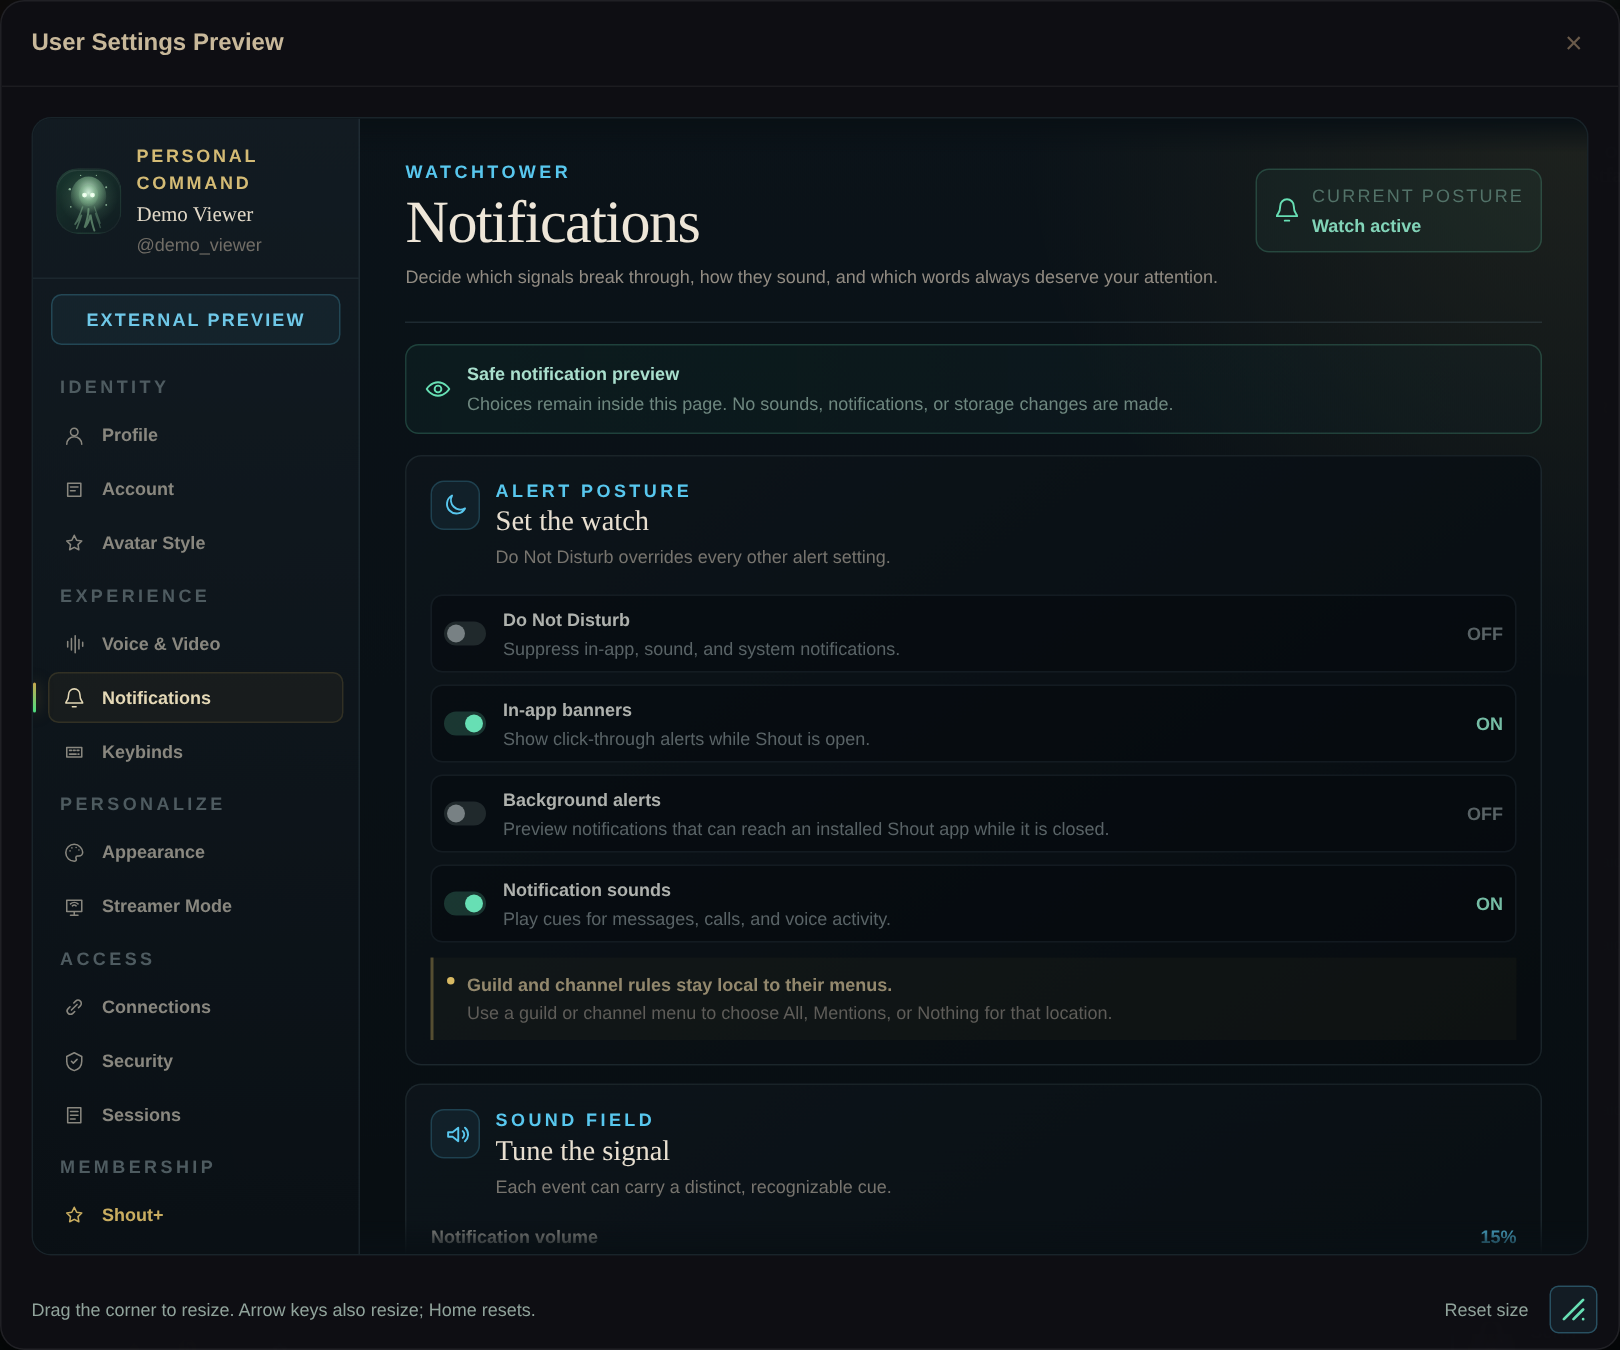
Open Notifications to control in-app banners, notification sounds, volume, and individual sound cues.
- Do Not Disturb overrides the other alert settings. Check it first if notifications have gone quiet.
- Guild and channel menus have their own All, Mentions, and Nothing choices.
- Watch words can draw attention to a raid, project, or character name. Matches are case-insensitive; Do Not Disturb still suppresses them.
- Background alerts depend on your client, installation, and system permissions. Follow the status and prompts shown in the live settings page.
Choose Apply settings when you finish.
Make the interface comfortable.
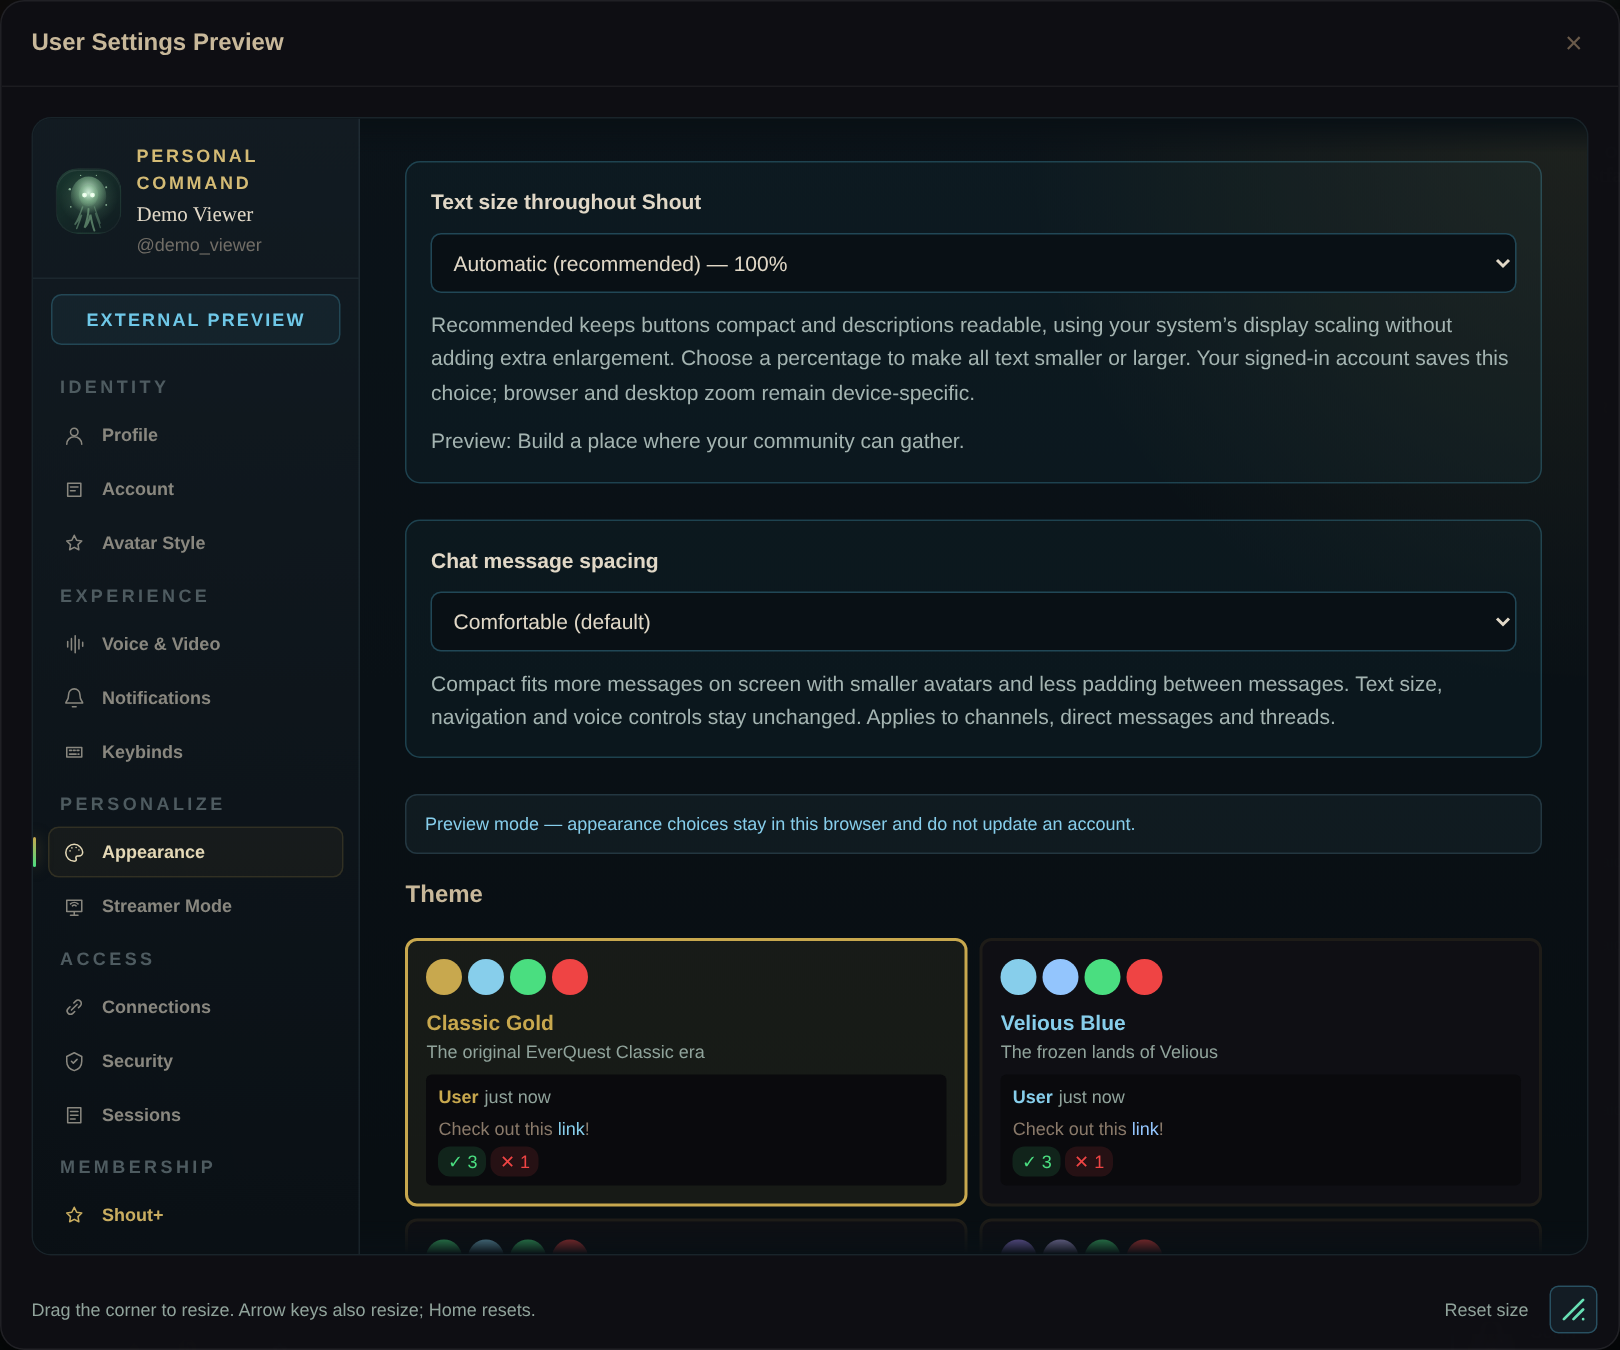
Open Appearance to choose a theme, text size, chat spacing, and accessibility options. Use Chat Font Size for messages, or Text size throughout Shout for the broader interface.
Appearance choices apply as you change them. Read the save or sync status if one is shown. Browser or desktop zoom remains a separate setting on that device.
| Section | Go here to… |
|---|---|
| Profile | Adjust your public name, about text, and profile artwork. |
| Keybinds | Review shortcuts and configure /shout destinations. |
| Streamer Mode | Review controls for information shown while streaming. |
| Security | Review account protection options. |
| Sessions | Review and manage signed-in sessions. |
Solve the common setup snags.
My headset is missing.
Reconnect it, choose Rescan, and check system and browser access. If a saved device is unavailable, choose System default or an available device, then apply the change.
I changed voice settings but nothing happened.
Look for Unapplied signal changes and select Apply settings. Check for an error before closing. The public demo uses Apply preview and does not configure your account or test real devices.
Which settings affect everyone in my guild?
This guide covers personal settings. Use guild settings for roles, permissions, and shared community configuration. Personal stream layouts and appearance choices do not rearrange another member’s screen.
Pictures show Shout’s real interface with a demonstration guild and profile. Demo settings use “Apply preview” and simulate device tests; your signed-in account uses its live settings. Controls can vary with client version and permissions.